
Blame
|
1 | # Kiosk |
||||||
| 2 | ||||||||
| 3 | ## Kiosk View |
|||||||
|
4 | Navigating to `https://yourlubeloggerdomain/kiosk` will bring up the Kiosk view. |
||||||
| 5 | ||||||||
| 6 | If [[Web Socket|Advanced/Webhook#websocket]] is enabled, this is a real-time dashboard, otherwise it falls back to refreshing every 60 seconds. |
|||||||
|
7 | |||||||
| 8 | By default(without any parameters), it will default to the Vehicle view. |
|||||||
| 9 | ||||||||
| 10 | 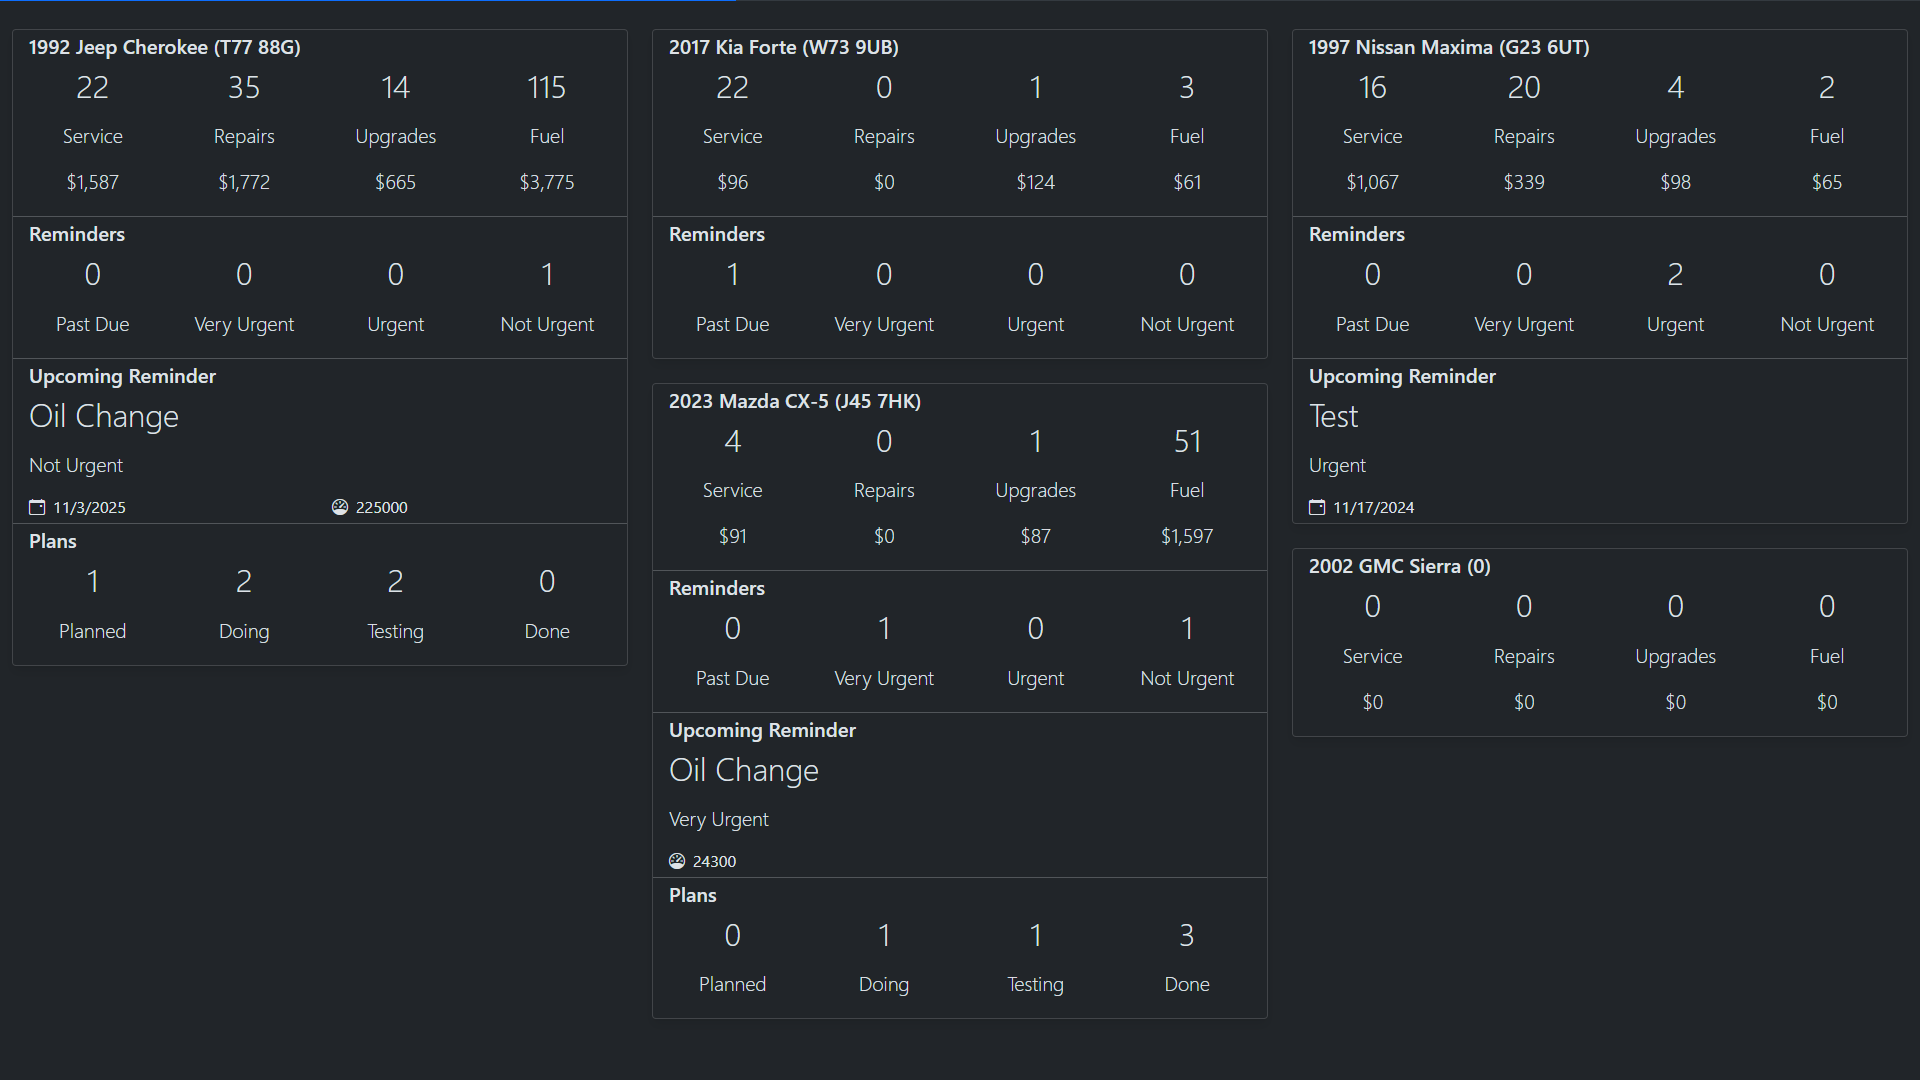 |
|||||||
| 11 | ||||||||
| 12 | Modify view by adding `kioskMode` to the URL, such as: `https://yourlubeloggerdomain/kiosk?kioskMode={mode}` |
|||||||
| 13 | ||||||||
| 14 | Possible views: |
|||||||
| 15 | - Vehicle - shows overview information of vehicles. |
|||||||
|
16 | - Plan - shows all plans for vehicles, sorted by the priority and progress. |
||||||
|
17 | - Reminder - shows all reminders for vehicles, sorted by urgency. |
||||||
| 18 | - Cycle - cycles through all of the view above. |
|||||||
| 19 | ||||||||
| 20 | ## Excluding Vehicles |
|||||||
| 21 | ||||||||
| 22 | By default, the dashboard will display all vehicles the user has access to; however, vehicles can be excluded by appending `exclusions` to the URL, such as `https://yourlubeloggerdomain/kiosk?exclusions={vehicleIds}` |
|||||||
| 23 | ||||||||
| 24 | The vehicleId refers to the Id of the vehicle, visible in the address bar when viewing details for a specific vehicle, e.g.: |
|||||||
| 25 | ||||||||
| 26 |  |
|||||||
| 27 | ||||||||
|
28 | In the example above, the vehicleId is `1`. To exclude multiple vehicles, list them separated by `,` |
||||||
|
29 | |||||||
|
30 | e.g.: `https://yourlubeloggerdomain/kiosk?exclusions=1,3,5` will exclude vehicles with Ids 1, 3, and 5 from having their information displayed on the view. |
||||||
|
31 | |||||||
| 32 | ## Full URL Example |
|||||||
| 33 | ||||||||
| 34 | `https://yourlubeloggerdomain/kiosk?kioskMode=Cycle&exclusions=1,3,5` will cycle through different views and exclude data from vehicle Ids 1, 3, and 5. |
|||||||
| 35 | ||||||||
| 36 | ## Setting Access Token |
|||||||
| 37 | ||||||||
|
38 | If your use-case for the Kiosk involves a full-time display, you will need to set up an access token as the user session cookie set by LubeLogger expires in either 24 hours or 7 days(depending if `Remember Me` was selected during Login). Setting up an access token allows the kiosk to continue functioning even if the user session has long expired. |
||||||
| 39 | ||||||||
|
40 | 1. Generate a readonly [[API Key|Advanced/API#api-keys]] |
||||||
| 41 | 2. You will need to login at least once before navigating to your Kiosk URL |
|||||||
|
42 | 4. Open up the developer's console(F12 on most browsers) |
||||||
| 43 | 5. Some browsers will require you to acknowledge what you're doing. |
|||||||
|
44 | 6. Type in `setAccessToken('{API Key you generated in step 1}')` |
||||||
|
45 | 7. Hit enter and you should get a response stating the access token was set. |
||||||
| 46 | ||||||||
|
47 | E.g.: If the generated API key is `abcde` You would then type in `setAccessToken('abcde')` in the developer's console. |
||||||
|
48 | |||||||
| 49 | Test this by navigating to your LubeLogger instance in a different tab and logging out. Your kiosk dashboard should continue functioning. |
|||||||