
# Set Up HTTPS
LubeLogger runs on Kestrel, which is a cross-platform standalone web server provided by .NET
If you're running LubeLogger behind a reverse proxy(i.e. NGINX), then this walkthrough does not apply to you since the SSL certs will be served up by NGINX instead of Kestrel.
This article covers the step-by-step process to set up HTTPS for a LubeLogger instance.
## Docker
If you're running LubeLogger on a Docker instance, first read [this article by Microsoft](https://learn.microsoft.com/en-us/aspnet/core/security/docker-compose-https?view=aspnetcore-8.0)
1. Convert the .PEM / .CRT files into .PFX, read [this StackOverflow post](https://stackoverflow.com/questions/808669/convert-a-cert-pem-certificate-to-a-pfx-certificate)
2. Open and modify the .env file and add the following lines(note that in this example I used bob as the password for the cert)
> [!NOTE]
> You can use the [LubeLogger Configurator](https://lubelogger.com/configure)
> for this step
```
ASPNETCORE_Kestrel__Certificates__Default__Password=bob
ASPNETCORE_Kestrel__Certificates__Default__Path=/https/<yourPFXCertificateName>.pfx
ASPNETCORE_URLS=https://+:443;http://+:80
```
3. Open and modify docker-compose.yml. You will need to bind a new volume to the Docker container so that Kestrel can access the certificate file.
```
volumes:
- ./https/:/https:ro
```
4. Check the port bindings to ensure that traffic is being forwarded to port 443
```
ports:
- 443:443
```
5. Run `docker-compose up -d` to start up the container and `https://localhost` will now have a valid cert.
## Windows
If you're running LubeLogger as the standalone Windows executable:
1. Convert the .PEM / .CRT files into .PFX, read [this StackOverflow post](https://stackoverflow.com/questions/808669/convert-a-cert-pem-certificate-to-a-pfx-certificate)
2. Navigate to the Server Settings Configurator and click Next until you get to "Server Endpoints"
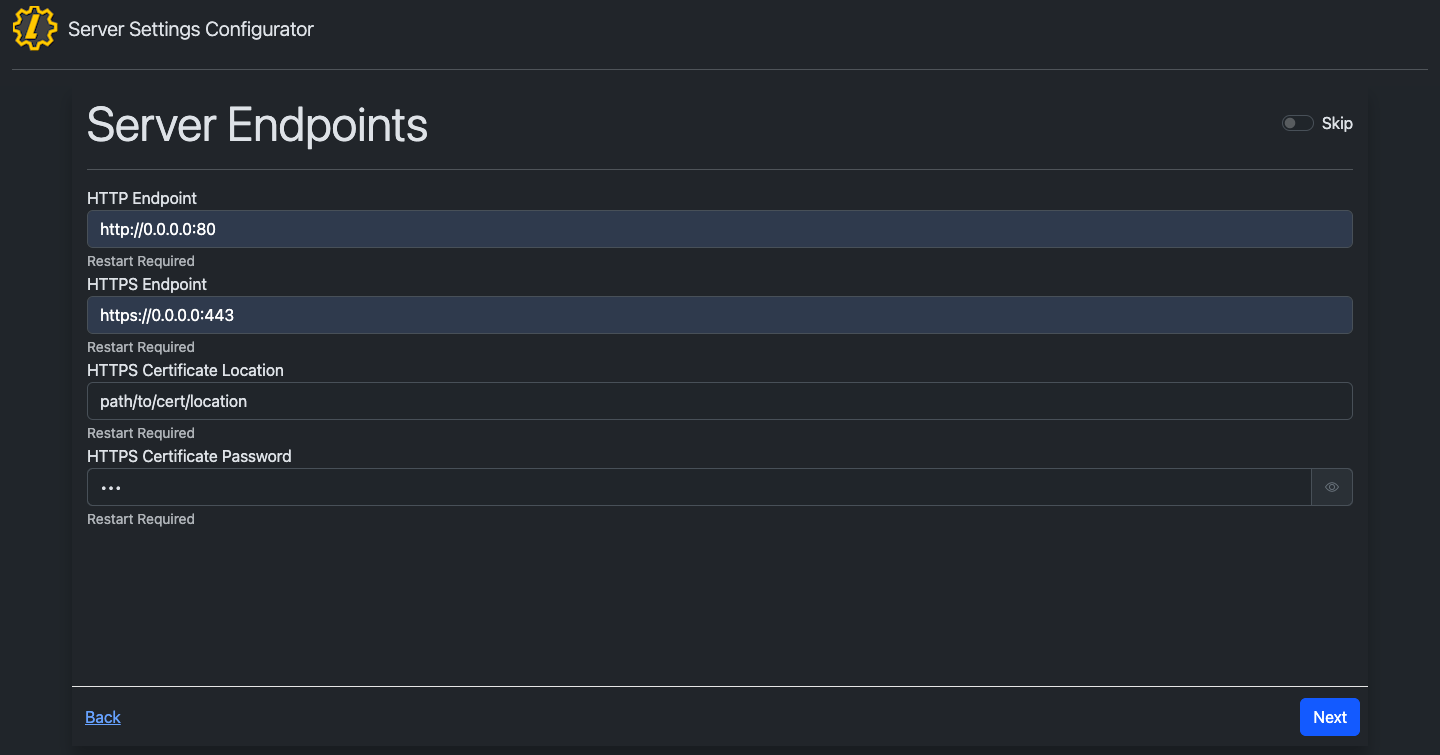
Note: Replace `0.0.0.0` with your IPv4 address
3. Save the Settings by clicking to the end of the Server Settings Configurator and click "Save"
4. Restart the app and `https://localhost` will now have a valid cert.